The 'let's face it' project
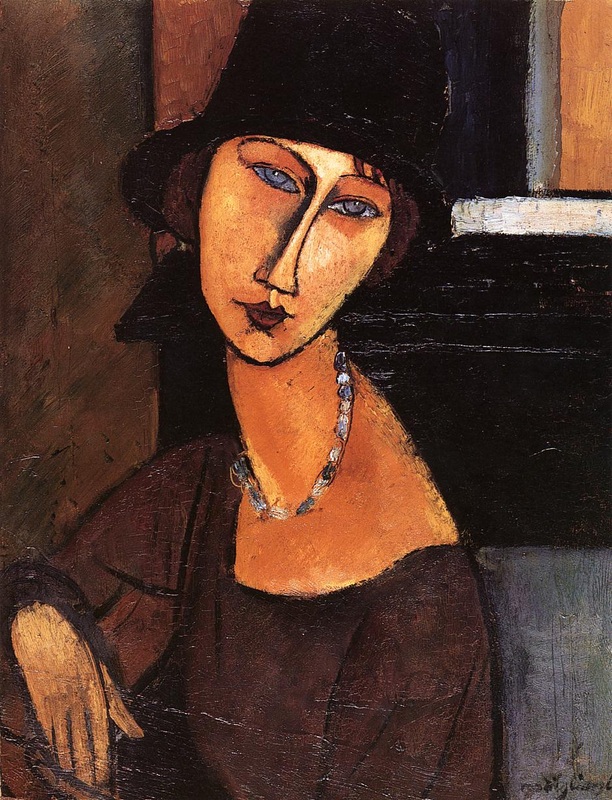
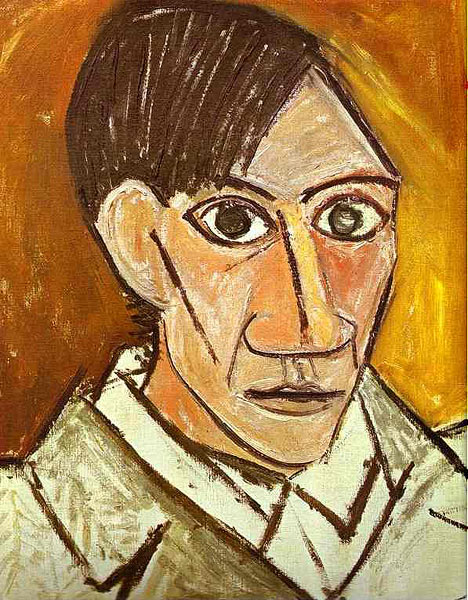
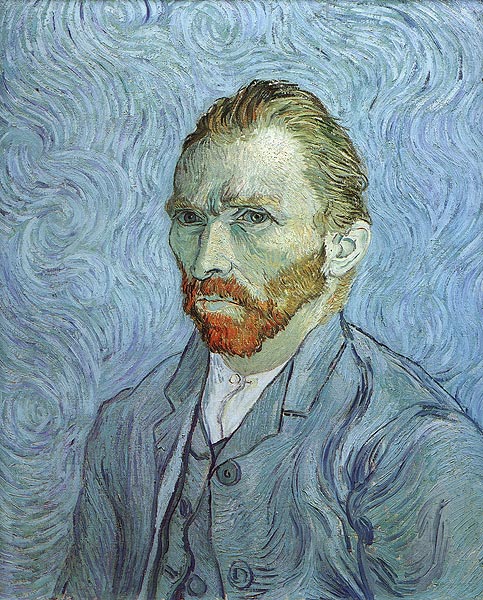
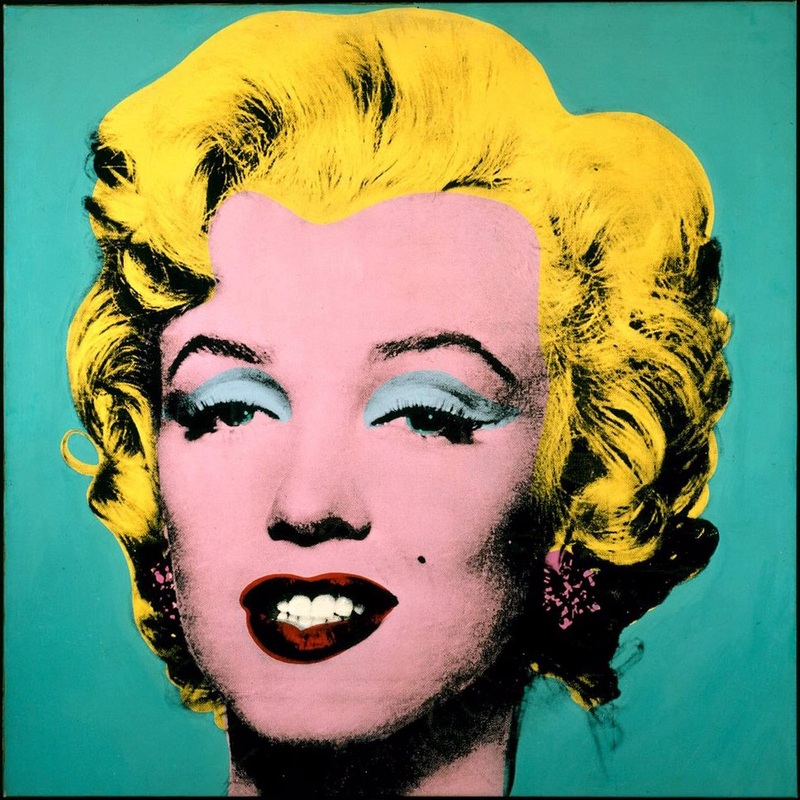
There are 3 traditional subjects for artists to use in their artworks, the landscape, still life and portraiture. This project allows you to explore the phenomenon of the portrait. We are going to look at the variety of portraiture artworks and it's purpose, learn about the most famous portrait the Mona Lisa, critic the Archibald (Australia's most prestigious portrait painting prize) and learn how to draw the ultimate face using graphite pencils.

theory assignments
task one
first INTRODUCe the ARTIST & ARTWORKOne of the most important parts of analysing an artwork or writing about it is it's introduction, click the button below to download template, follow it step by step and you can't get the introduction wrong.
Then write in a 100 word statement: WHY IS THE MONA LISA SO FAMOUS?As a class you will watch the YouTube video below and take notes. You will then continue your research using the internet to answer the above question in your own words. I want to know what you think! what is your opinion on why is the Mona Lisa so famous?
|

|

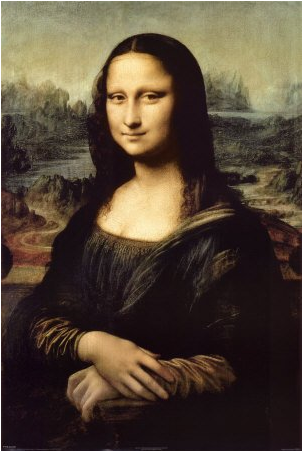
the mona lisa
lisa gherardini, wife of francesco giocondo
The history of the Mona Lisa as mysterious and ambiguous as the subject's expression. It is not known who commissioned the portrait, why Leonardo took it to France rather than giving it to the person who commissioned it, and why he continued to work on it for years, leaving it unfinished.
Leonardo is believed to have started painting The Mona Lisa in Florence between 1502 and 1503, although he continued to work on it as late as 1517. The exact identity of the sitter is not certain, but generally thought to be Lisa Gherardini, wife of a Florentine cloth merchant named Francesco del Giocondo - hence the alternative title, La Gioconda.
The portrait may have been painted to mark one of two events - either when Franceseco del Giocondo and his wife bought their own house in 1503, or when their second son, Andrea, was born in December 1502 after the death of a daughter in 1499. The delicate dark veil that covers Mona Lisa's hair is sometimes considered a mourning veil, although such veils were commonly worn as a mark of virtue. Her clothing is unremarkable and do not exhibit signs of upper-class status.
The Mona Lisa is the earliest known Italian portrait to focus so closely on the sitter in a half-length portrait. Aspects of the work such as the three-quater view of a figure against a landscape, the architectural setting, and the hands joined in the foreground were already extant in Flemish portraiture of the second half of the 15th century. However, the spatial coherence, the atmospheric illusionism, the monumentality, and the sheer equilibrium of the work were all new. The perfection of this new artistic formula explains its immediate influence on Florentine and Lombard art in the early 16th century.
The painting's growth in fame has been attributed to the fact that Lisa was an ordinary person, not a religious image or a member of the aristocracy, and therefore could be written about with speculation and fantasy. In the 20th century subversion rendered The Mona Lisa an icon. The painting was stolen, reproduced, lampooned and used for merchandising, popularising the image amongst the masses. (Information from Da Vinci Museum, Rome 2017).
practical HOW TO DRAW THE FACE
|
Proportion and guidelines are the key!

|
More than 500 years ago, artists created a system which would help them depict the human figure accurately. They developed a drawing formula using mathematics, and they noted the relationship of one body part to another in terms of size and placement. Using the head as the standard for drawing the whole figure, they observed that an adult stood 7.5 "heads" tall. Similarly, the facial features were measured in relation to the nose.
The great artist and inventor Leonardo da Vinci (1452-1519) described the proportions of the human figure in meticulous detail in his writings. Leonardo wrote, "Every man at three years old is half the full height he will grow to at last." In observing the relationship of facial features, he noted, "The distance from the attachment of one ear to the other is equal to that from the meeting of the eyebrows to the chin, and in a fine face the width of the mouth is equal to the length from the parting of the lips to the bottom of the chin."
Exact accounts or observations such as these helped artists draw and paint what is known as the idealised face and figure. Since we'll be concerned with drawing a portrait, the following is a simplified version of the the placement of features on such a face as drawn from the front.
Shape of the head: The idealised head is egg-shaped or broader at the top and narrower at the bottom.
Eyes: The eyes are placed just above the centre of the head. The space between the eyes and on each side is equal to the width of one eye.
Nose: The top of the nose is even with the top of the eyes, while the bottom of the nose is about halfway between the bottom of the chin and the top of the eyes. The bottom of the nose is the same width as the space between the eyes.
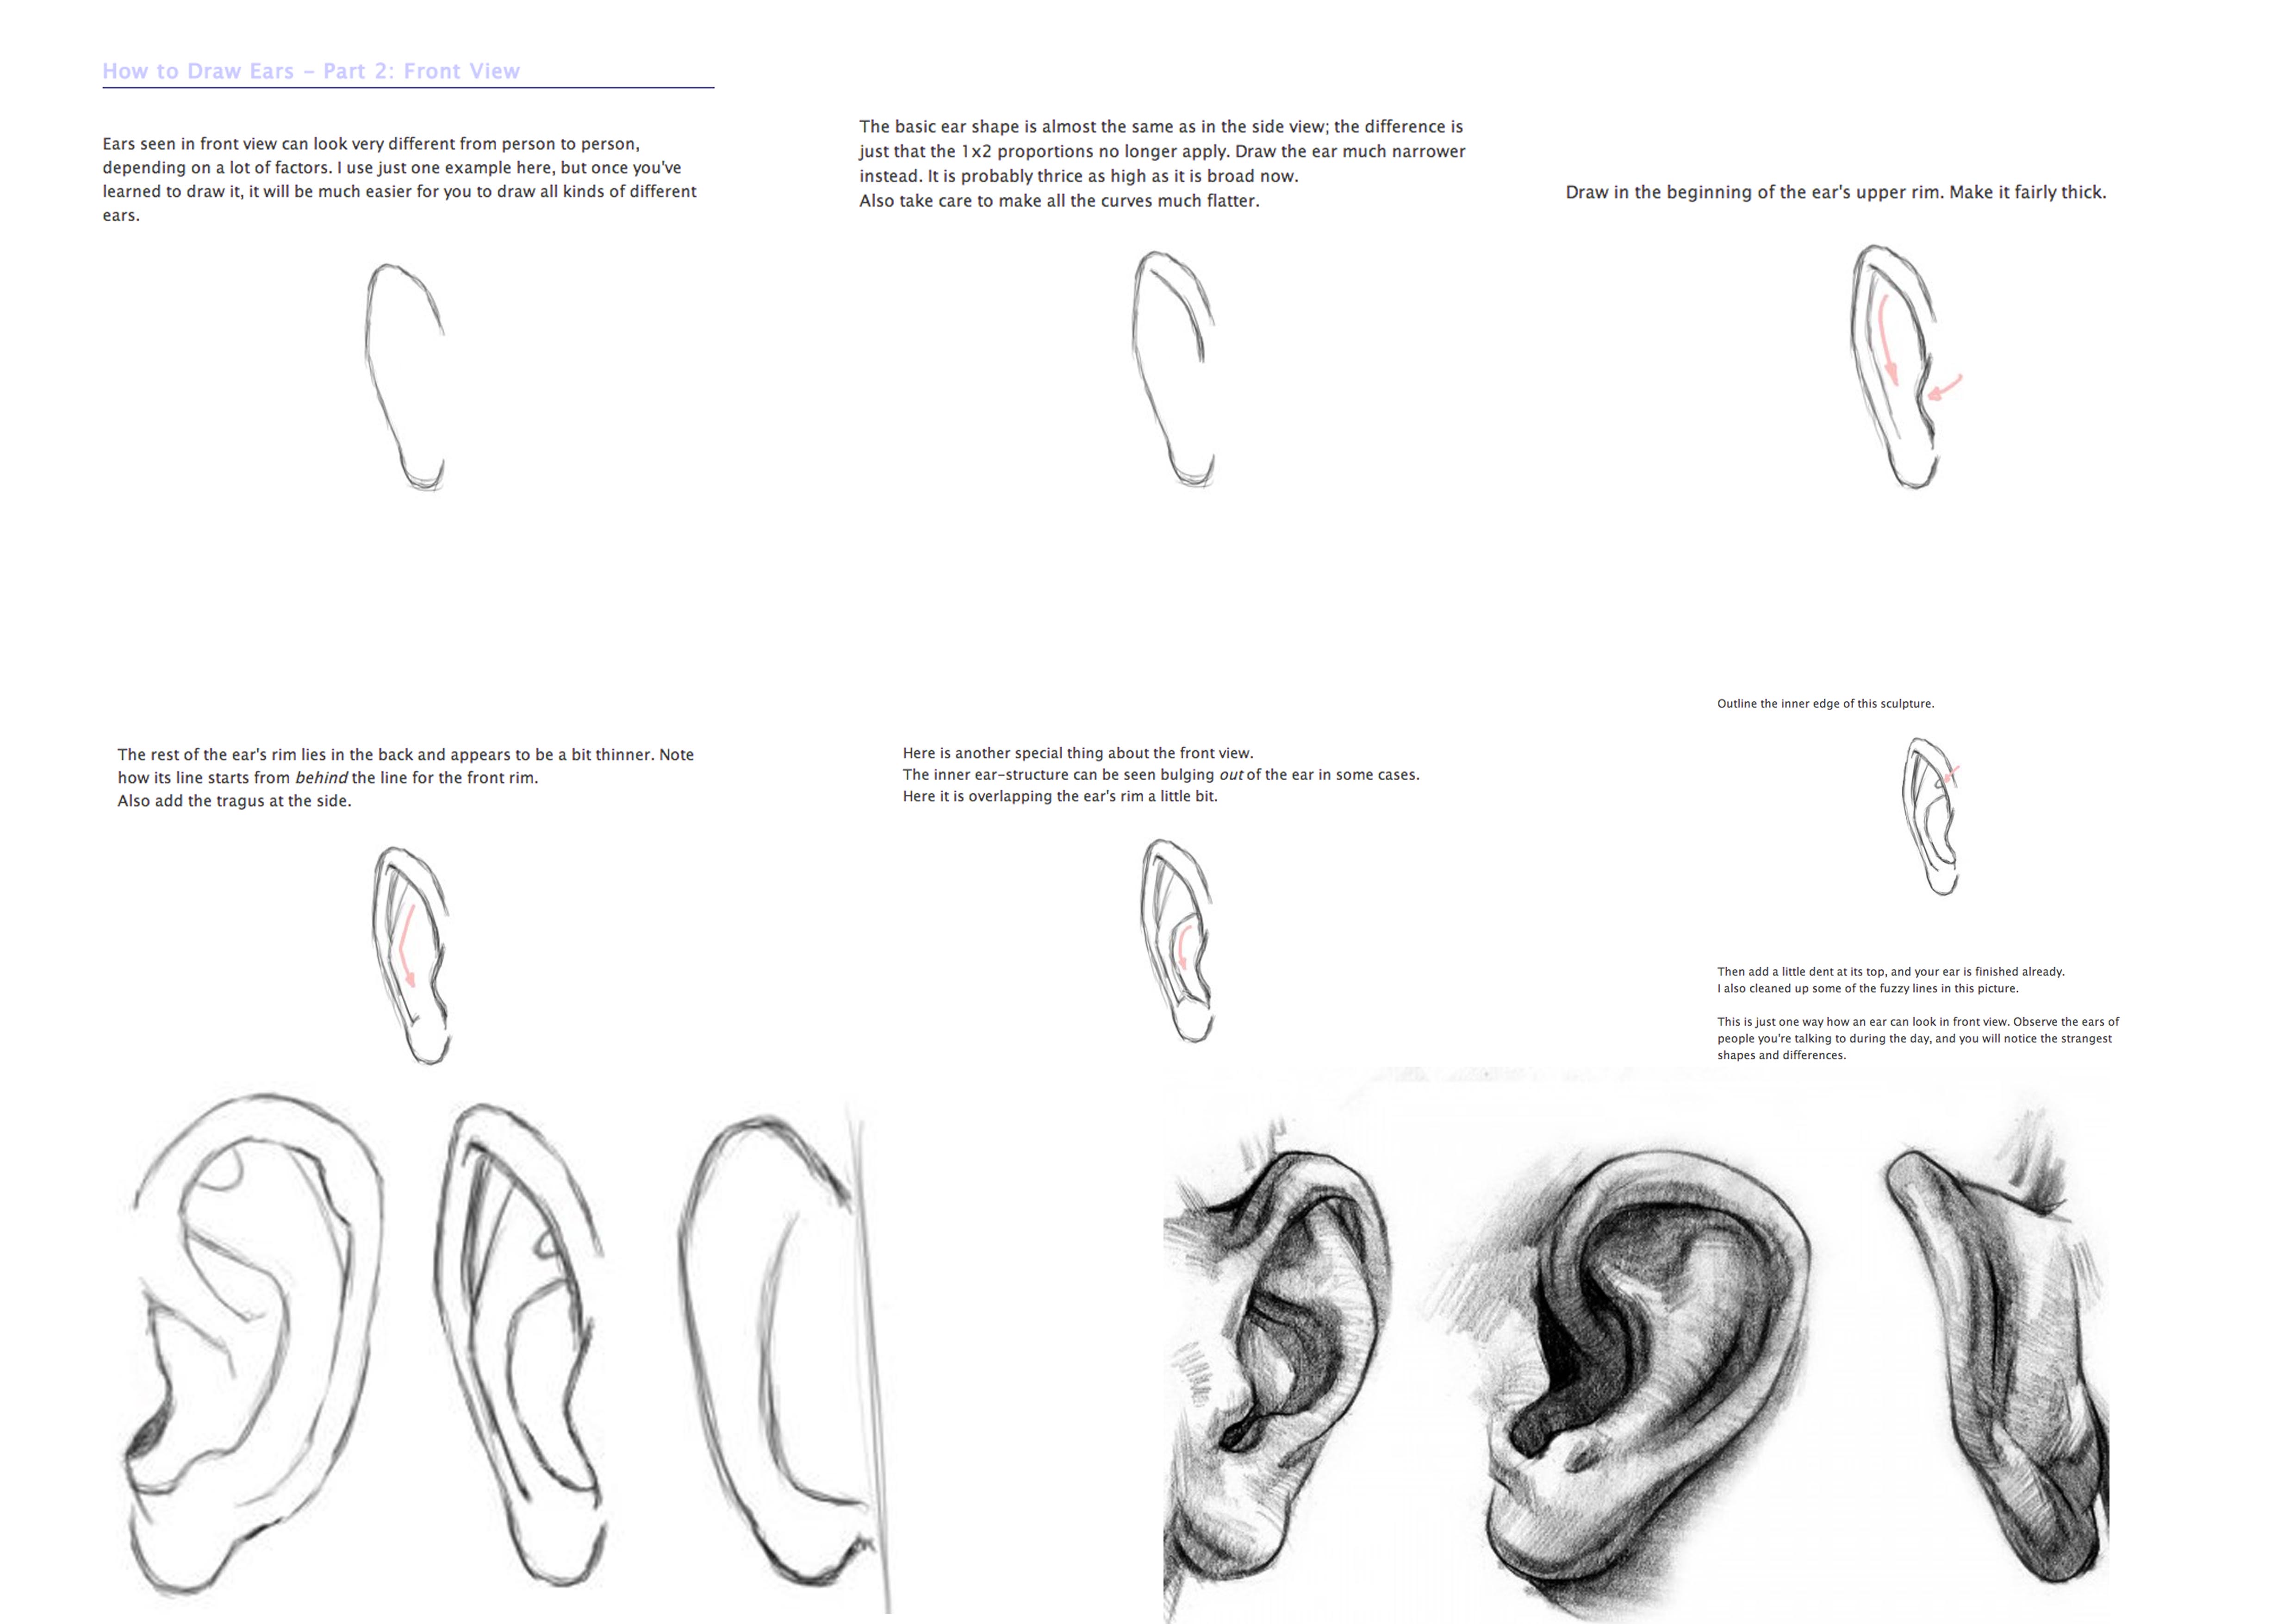
Ears: The ears are drawn between the top of the eyes and the bottom of the nose.
Mouth: The mouth is almost as wide as the distance between the pupils of the eyes.
While it may be helpful to know this formula in beginning to draw portraits, in reality very few people have features like those of an ideal face. Instead, some noses are large while others are small, eyes can be close set or far apart, and faces come in a variety of shapes. The best way to learn how to draw a portrait is to draw from life, and, as Leonardo learned, the most important thing the process will teach you is how to see.
http://www.kid-at-art.com/htdoc/lesson41.html (accessed 28/01/2014)
The great artist and inventor Leonardo da Vinci (1452-1519) described the proportions of the human figure in meticulous detail in his writings. Leonardo wrote, "Every man at three years old is half the full height he will grow to at last." In observing the relationship of facial features, he noted, "The distance from the attachment of one ear to the other is equal to that from the meeting of the eyebrows to the chin, and in a fine face the width of the mouth is equal to the length from the parting of the lips to the bottom of the chin."
Exact accounts or observations such as these helped artists draw and paint what is known as the idealised face and figure. Since we'll be concerned with drawing a portrait, the following is a simplified version of the the placement of features on such a face as drawn from the front.
Shape of the head: The idealised head is egg-shaped or broader at the top and narrower at the bottom.
Eyes: The eyes are placed just above the centre of the head. The space between the eyes and on each side is equal to the width of one eye.
Nose: The top of the nose is even with the top of the eyes, while the bottom of the nose is about halfway between the bottom of the chin and the top of the eyes. The bottom of the nose is the same width as the space between the eyes.
Ears: The ears are drawn between the top of the eyes and the bottom of the nose.
Mouth: The mouth is almost as wide as the distance between the pupils of the eyes.
While it may be helpful to know this formula in beginning to draw portraits, in reality very few people have features like those of an ideal face. Instead, some noses are large while others are small, eyes can be close set or far apart, and faces come in a variety of shapes. The best way to learn how to draw a portrait is to draw from life, and, as Leonardo learned, the most important thing the process will teach you is how to see.
http://www.kid-at-art.com/htdoc/lesson41.html (accessed 28/01/2014)
Shape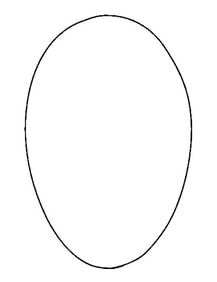
|
proportion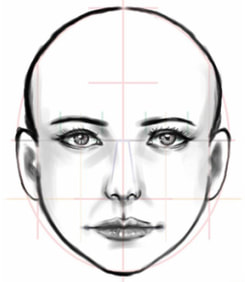
|
line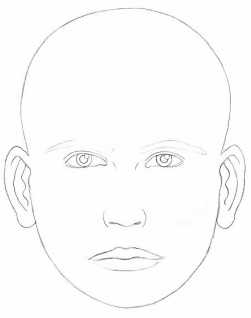
|
eyes

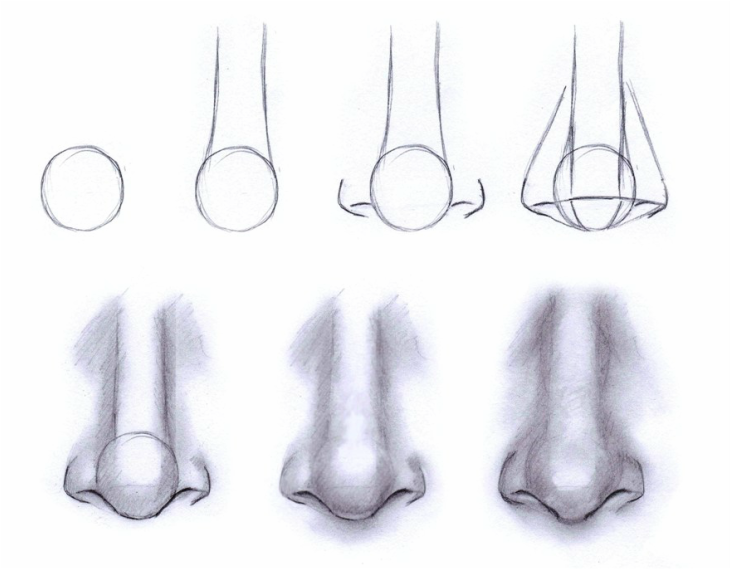
nose
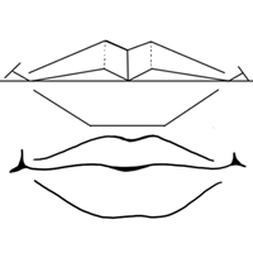
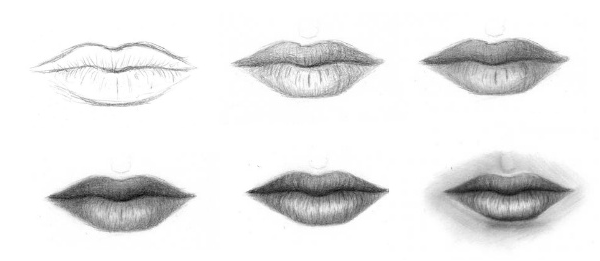
lips
|
|
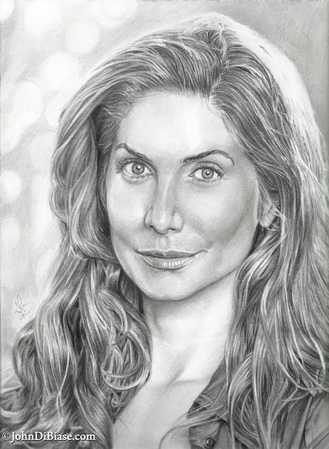
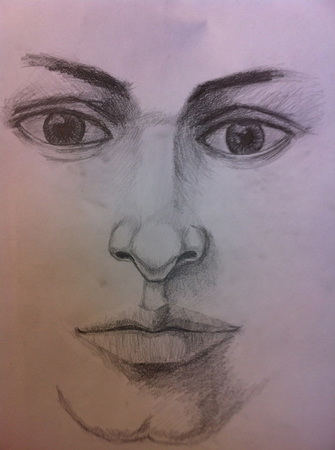
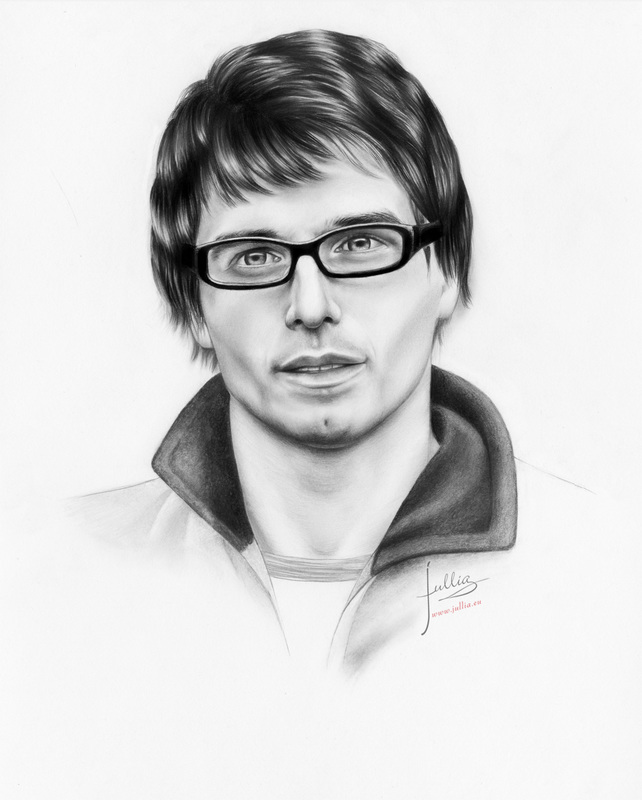
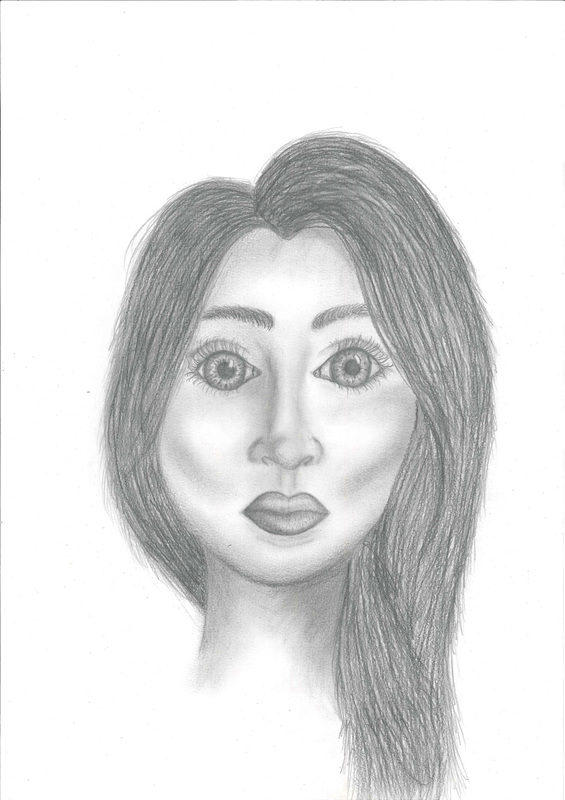
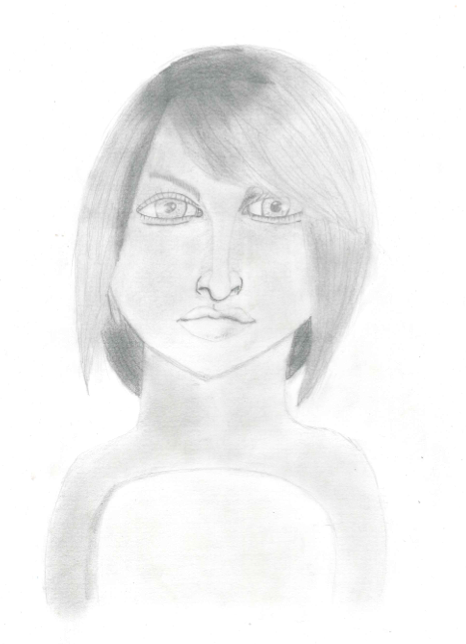
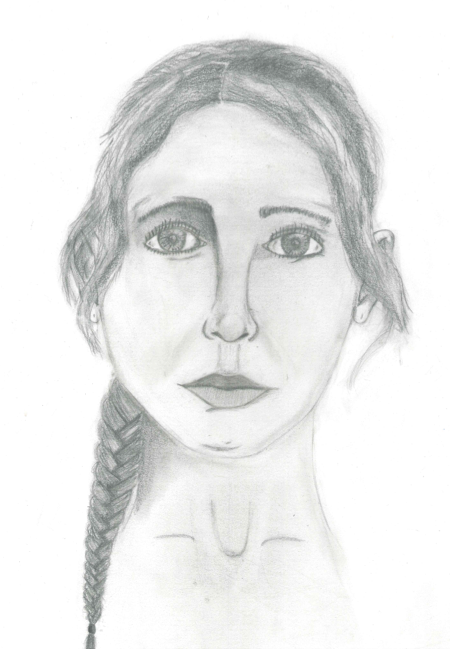
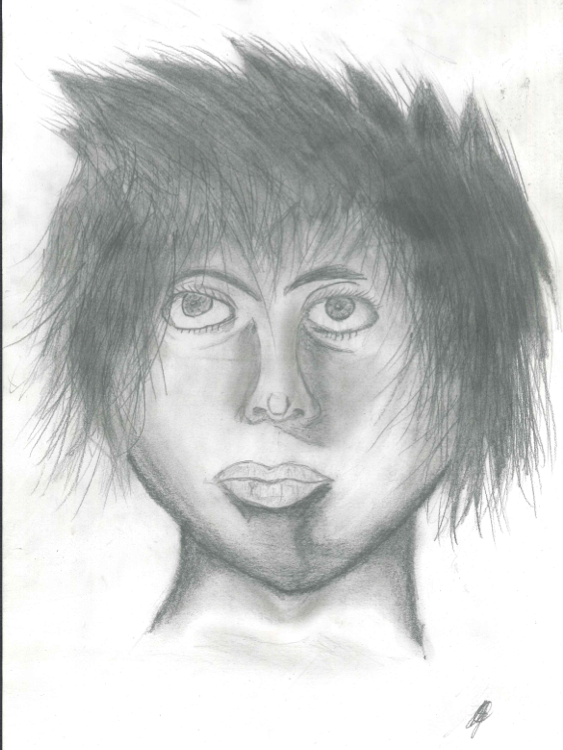
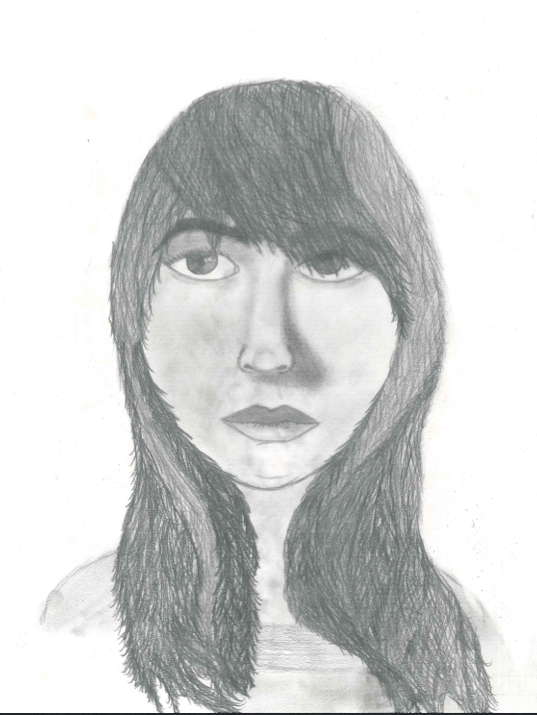
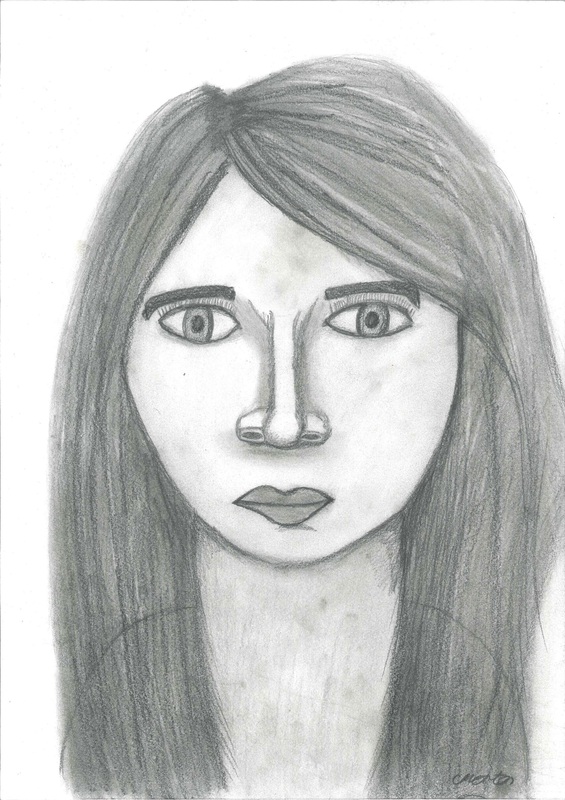
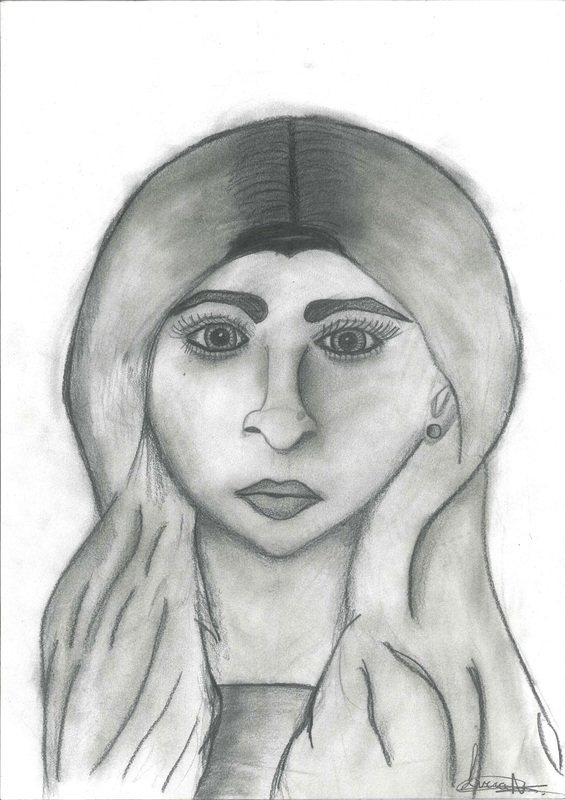
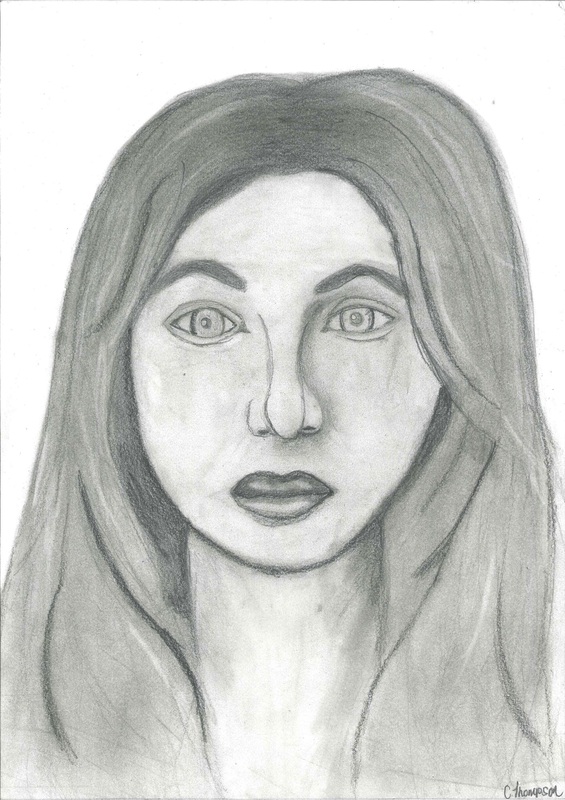
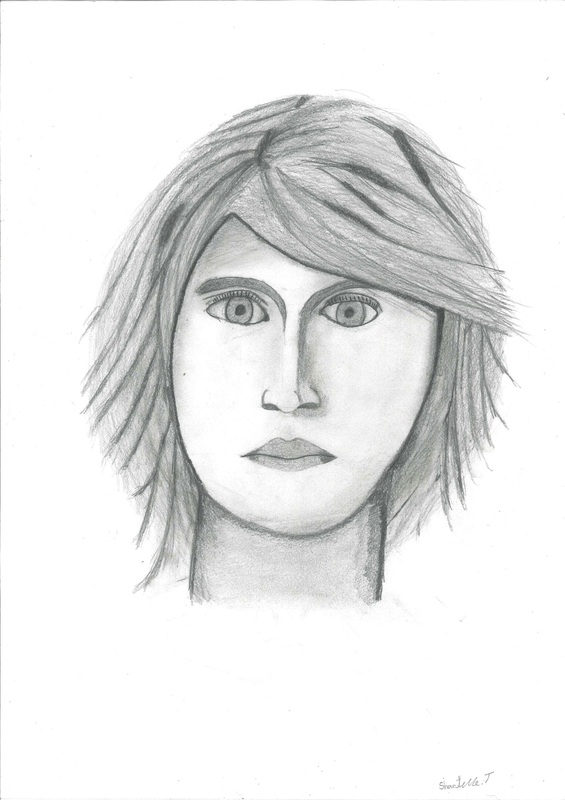
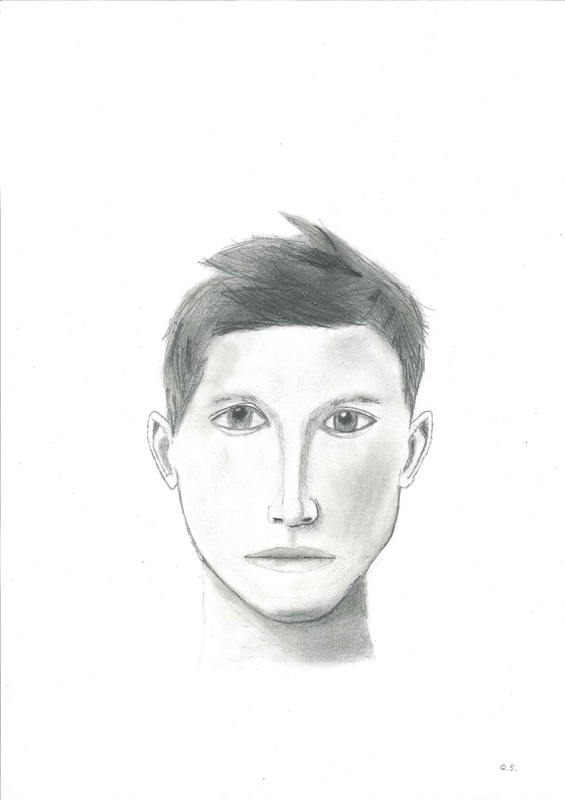
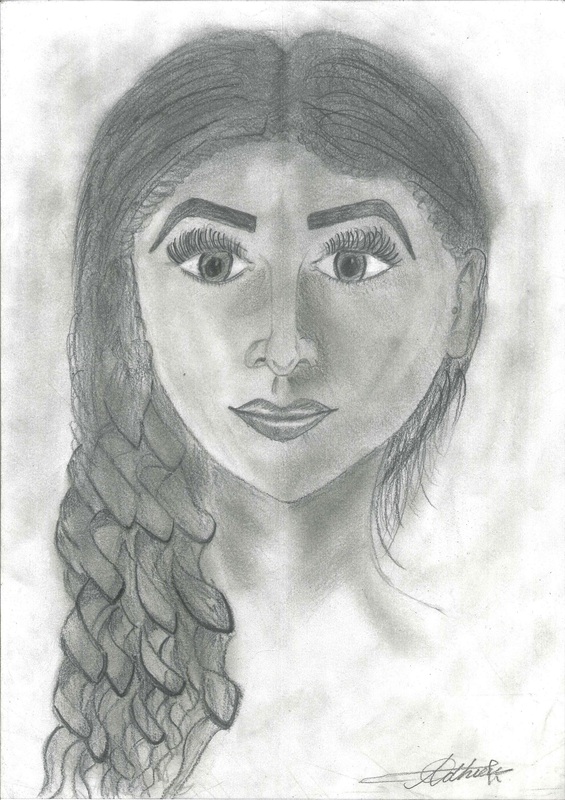
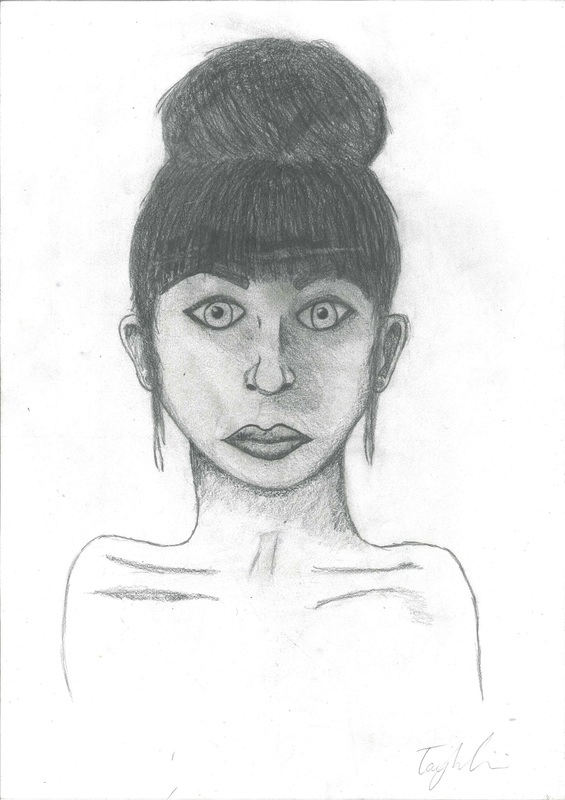
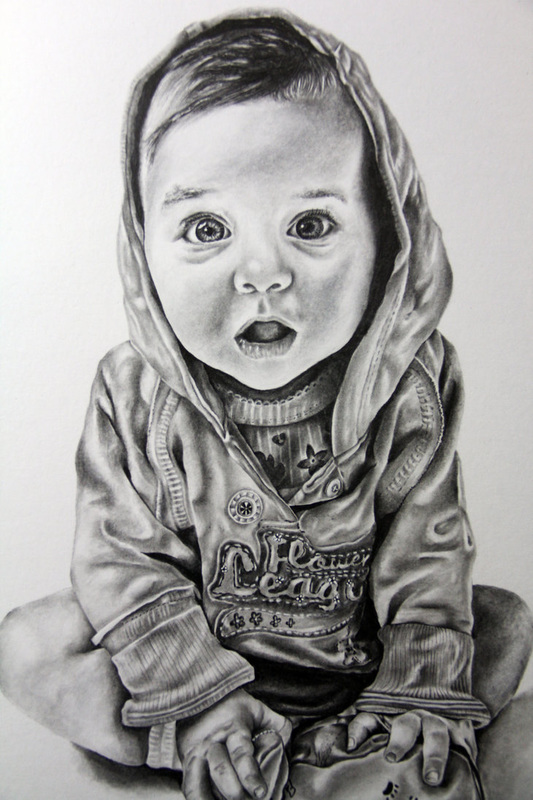
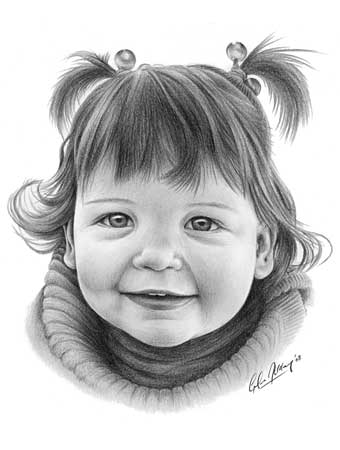
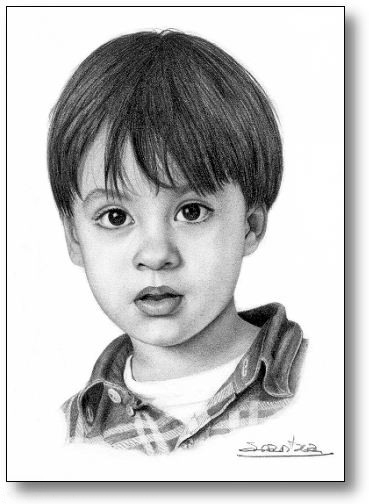
student example of using tonal range to create shadow and detail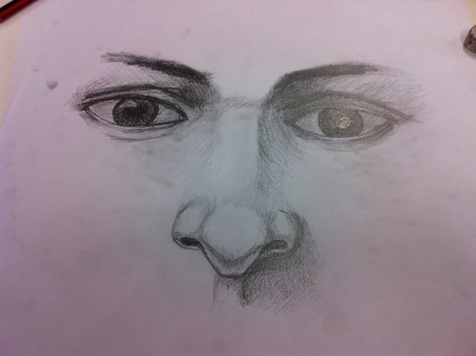
|
|
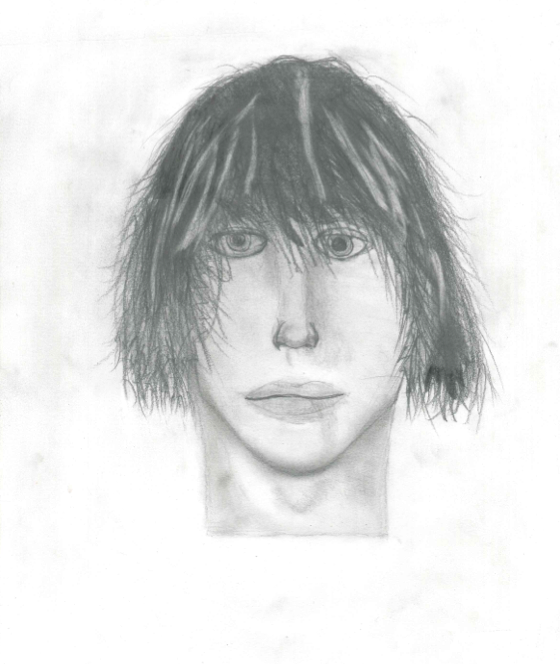
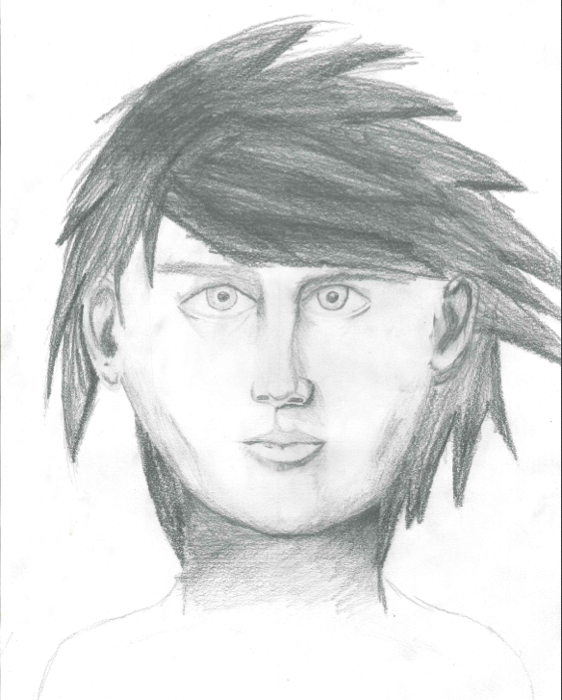
HOW TO DRAW HAIR
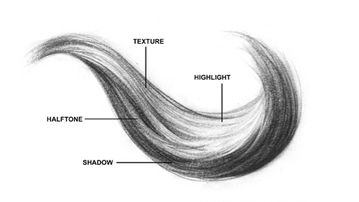
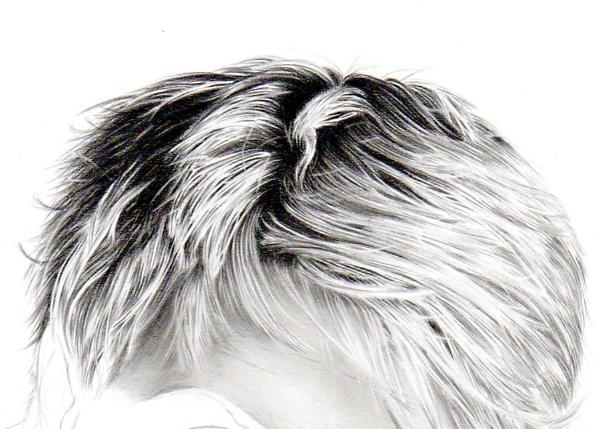
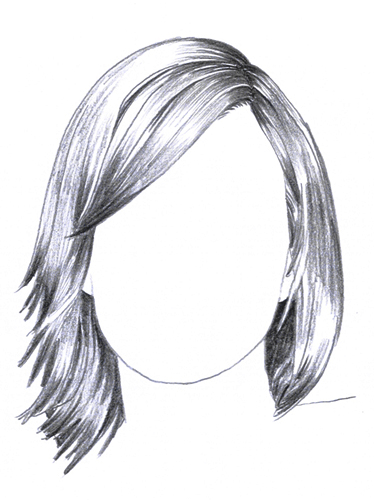
WHAT TO REMEMBER WHEN DRAWING HAIR
· DON’T THINK OF EACH HAIR AS LINES
· THE WAY TO GET HAIR REALISTIC IS TO TREAT IT LIKE SKIN WITH
DIFFERENT VALUE AND TONAL RANGE.
· LOOK FOR WHERE THE DARK AREAS ARE
· LOOK FOR WHERE THE MEDIUM AREAS ARE
· LOOK FOR WHERE THE LIGHT AREAS ARE
· YOU HAVE TO KEEP LOOKING AT THE PHOTO (FOR REFERENCE)
SO YOU CAN REPLICATE WHAT YOU SEE IN THE IMAGE ONTO YOUR DRAWING.
· START WITH A SHARP HB THEN USE A 2B THEN 6B
· LAYER LAYER LAYER!!! DON’T EXPECT YOUR DRAWING TO BE AMAZING STRAIGHT AWAY
· STOP STEP BACK AND CRITIQUE YOUR WORK.
task hand outs (these are handed out in class as hard copies)
|
|
| ||||||
|
| ||||
2015 student examples

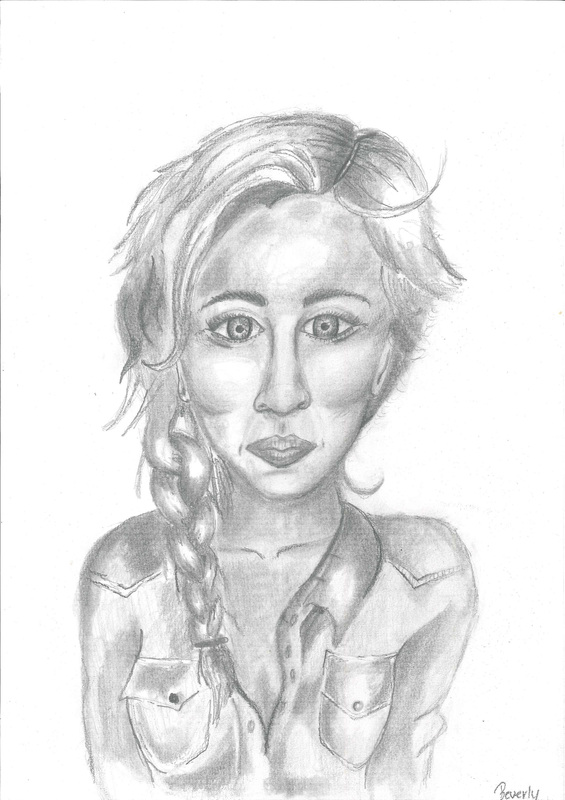
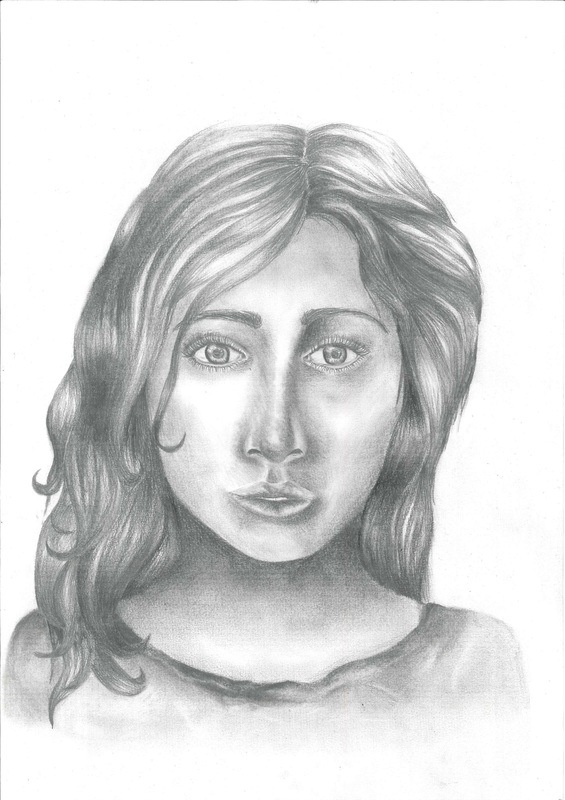
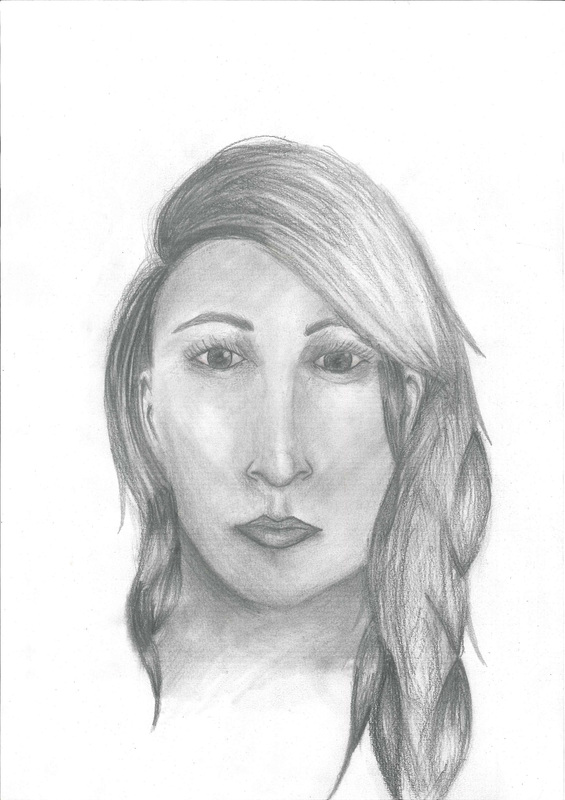
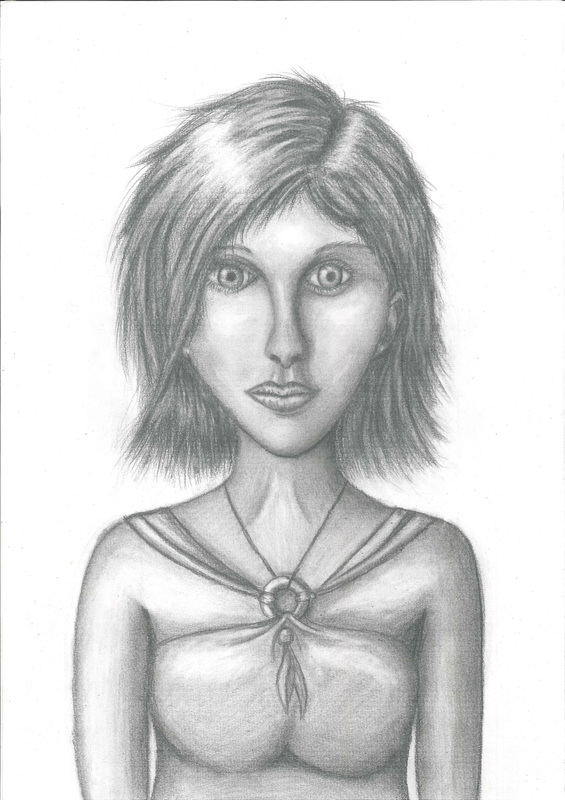
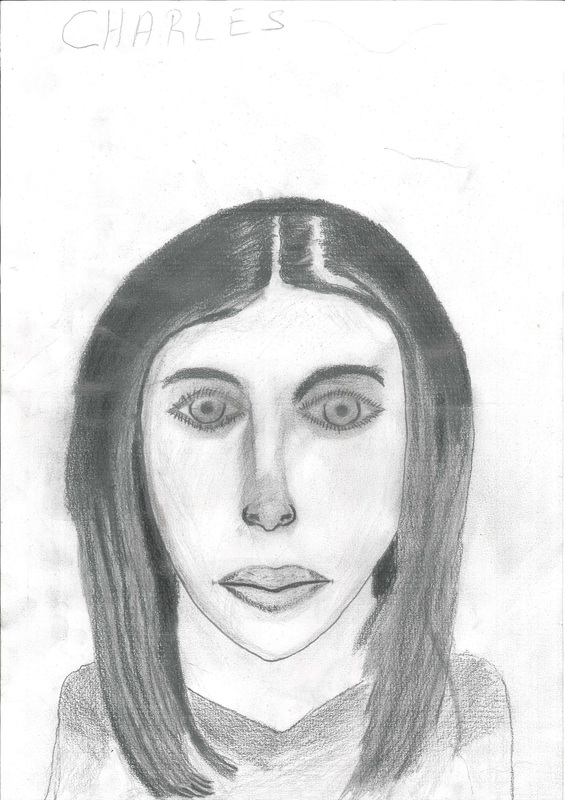
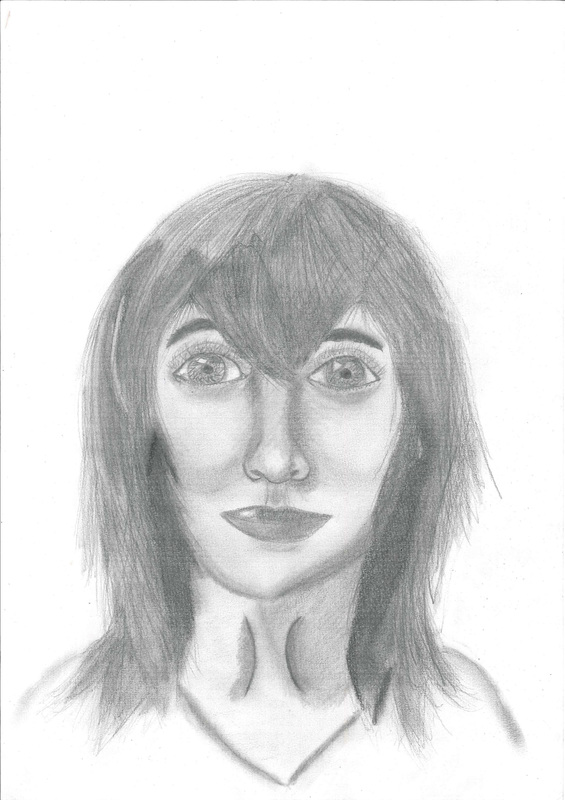
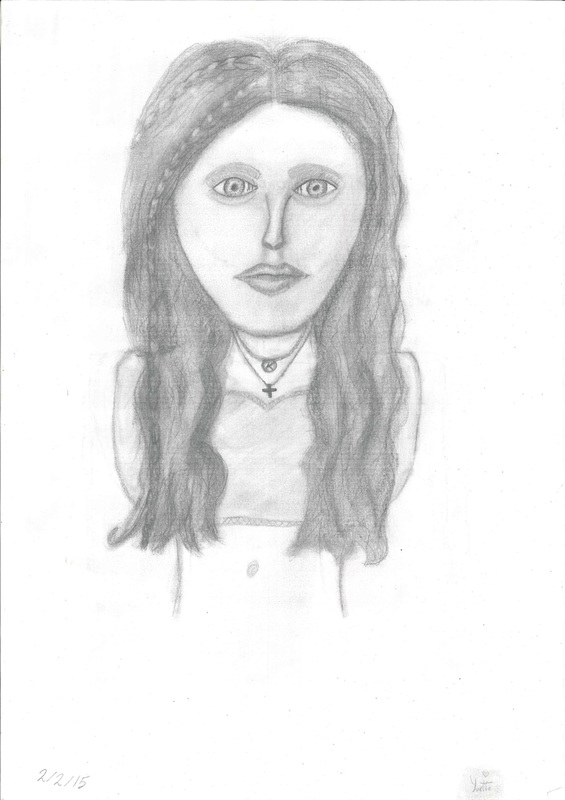
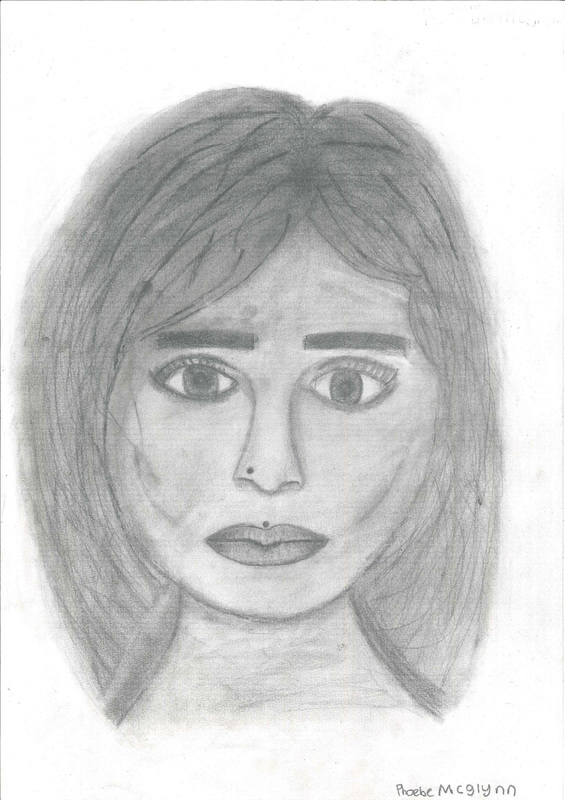
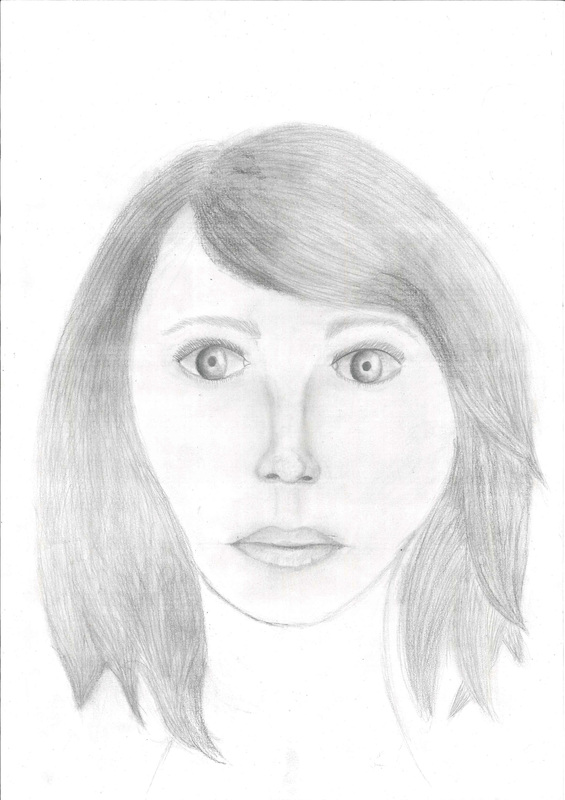
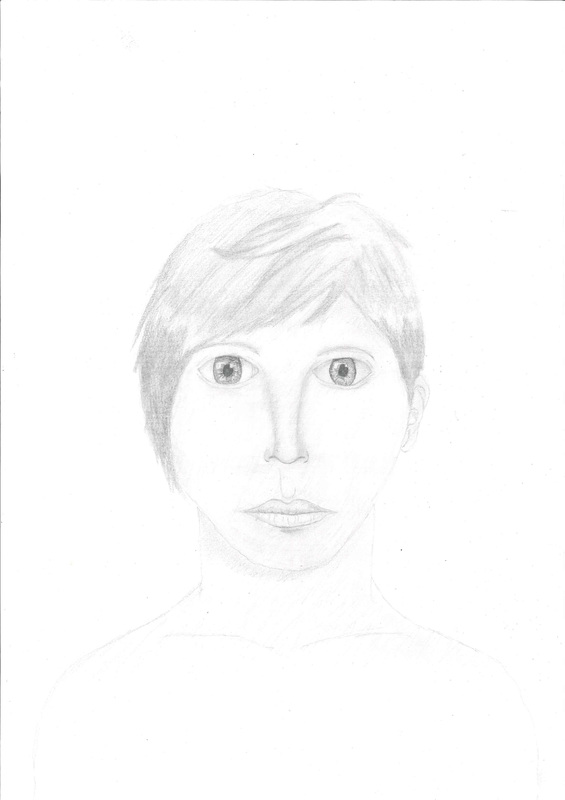
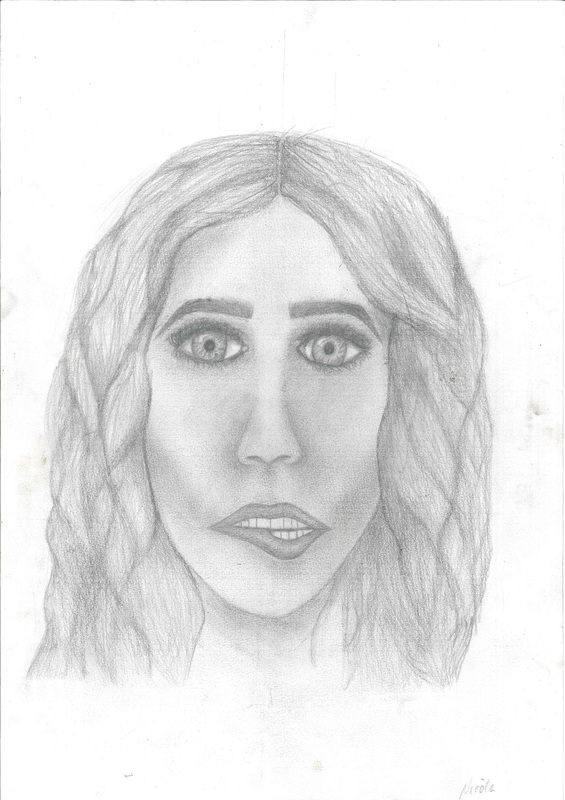
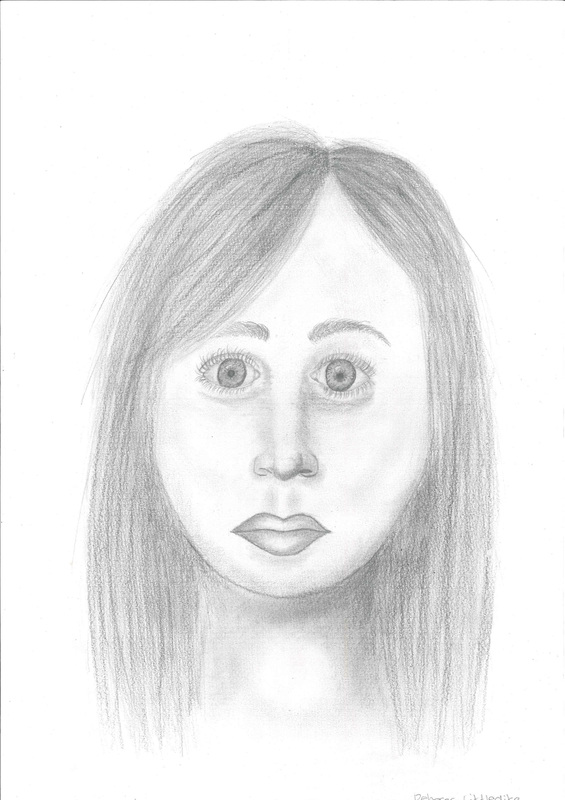
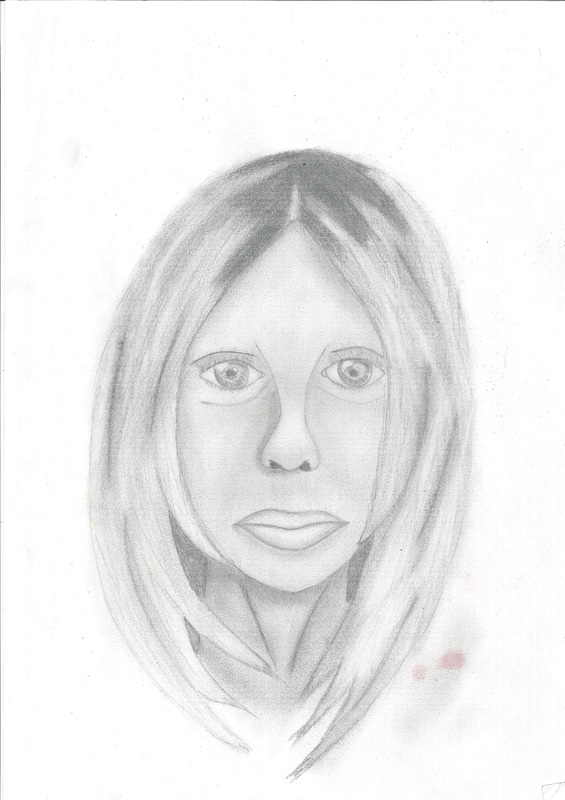
2014 STUDENT EXAMPLES

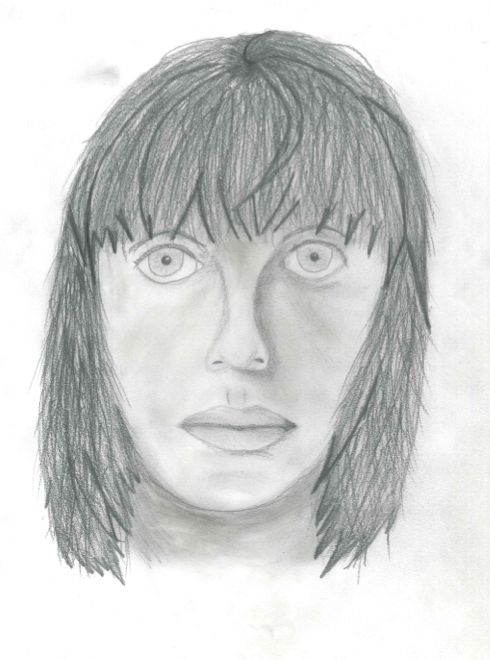
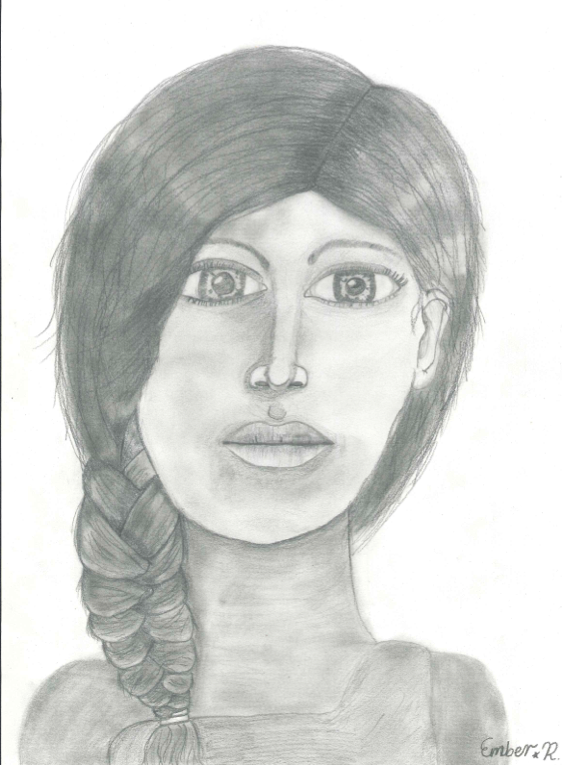


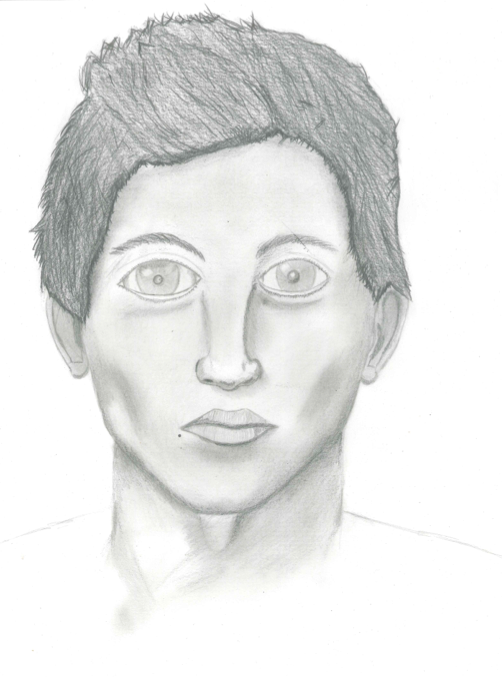


2013 STUDENT EXAMPLES


