Head of Middle School Transformation @ WSS
KATRINA AXFORD
  • Home
  • About Me
  • Teaching & Learning
    • Case for Change
    • PBL 101: Aussie Style!
    • Explicit Instruction >
      • I Do, We Do, You Do
      • Learning Objectives and Success Criteria
      • Knowledge Organisers
    • Learner Wellbeing >
      • VIA Character Strengths
      • Growth and Fixed Mindset
    • Problem Finding & Design Thinking
  • School
    • AHS >
      • Year 7 Spark! >
        • Shadow Puppets
        • The 'Can you see sound?' Project
      • Year 12 Visual Arts >
        • Visual Study
        • Practical & Folio
    • WSS >
      • Year 7 Media Arts >
        • The 4pm Project >
          • One on One Interview
          • The Whip Around
          • Story board
        • Smart Starts
        • What is Media Arts
        • Technical Stuff
        • Challenge Accepted >
          • Animated Sprites and Pixel Art
          • Font-bots
          • Identity Postcard
      • Year 7 Visual Arts >
        • A Whole New World
        • World of Water Project
      • Year 9 Digital Art >
        • Character Conception
        • The 'Wirri Safari' Project >
          • Howard Arkley
      • Year 8 Visual Art >
        • The 'First Fast Five' Project
        • The 'Let's Face It' Project
        • The Grid System
        • The 'Fantasy Heads' Project
        • Picasso Heads
        • The 'Paste Me Up' Project
      • Year 10 Design >
        • Graphic Design
        • What is a brief?
        • Newspaper Challenge
        • Monogram
        • Poster Design
    • IPACA >
      • Projects @ IPACA >
        • Year 5/6 Making
        • Year 8 Geography >
          • Jambo Kenya
        • Year 7 Geography >
          • What is Geography?
          • The World Map
          • Map Skills and Compass Directions
          • Grid References
          • Scale
          • Contours
          • Environmental Relationships >
            • Cold Environments
    • MOC >
      • Year 8 Visual Arts
      • Year 9 Visual Arts
      • Year 10 Visual Arts >
        • The "Making History POP" project
        • The 'Stencil Pops' Project
        • The "Putting the MO in MOC" Project
        • The 'All Art Deco Out' Project
        • The 'Art of Australia' Project
        • The Newtoon's Project
        • The "I stand by you' Project
        • My Elemental Superhero Project
        • The 'Boxing Equations' Project
        • The 'Pop ID' Project
        • The 'Lights for Civil Rights' Project
        • 'The Diggers Letter' Project
        • The 'Unruly Conflict' Project
        • The 'Could We Should We' project
        • The 'Wallz Rulz" Project
      • Year 11 Visual Arts - Traditional >
        • Visual Study
        • Practical and Folio
      • Year 11 Visual Arts - Digital
      • Proposed Projects >
        • One Line Wonder
        • Photography >
          • Portraiture
          • Light and Shadow Project
          • Time Project
  • Resources
    • Text Types >
      • Year 7 >
        • Artist & Artwork Description
    • Terminology
    • Ideas, Meanings & Themes
    • Media / Techniques

The grid system : WHEN BIGGER IS BETTER!

TAKING IT ONE SQUARE AT A TIME
Essential Question: How did the old masters paint large pictures?
Picture
Did you know that the Ancient Egyptians used the grid system? No one really knows where it all exactly started or where the grid system officially came from but it has been used throughout art history and by many artists including famous ones like Leonardo Da Vinci and Vincent Van Gogh.

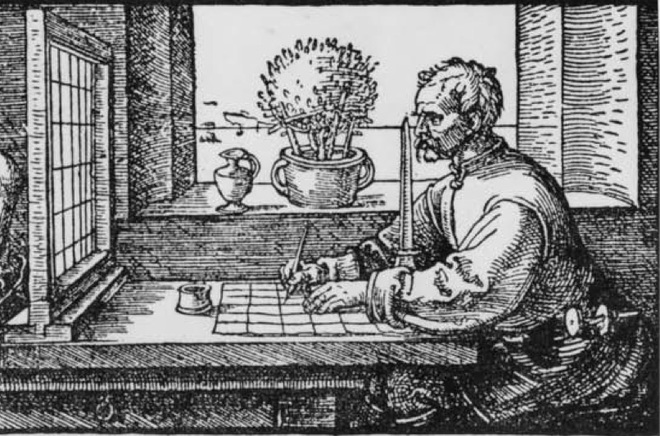
During the Renaissance period (14th to 16th centuries) artists would use the grid technique. One of the most promenade would be Albrecht Durer. Where he used a drawing machine much like the examples below.
Picture
Picture
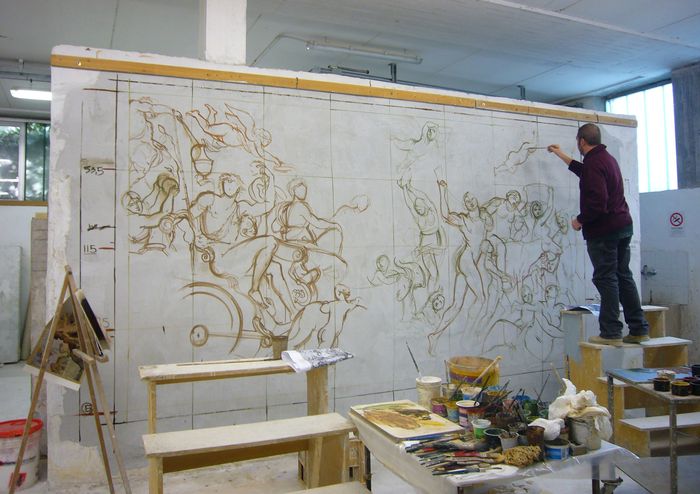
When painting Frescos during the mid 15th century cartone paper was invented and allowed artists to draw small scaled drawings using the grid in their studios. The larger-scaled grid with the same number of squares was then drawn using the same size as the fresco. The smaller drawing was then copied onto the large paper square by square. The holes were poked into the paper with big needles and a sack of coal dust was tapped over the paper. This is known as dusting (spolvero) and would leave little dots which the artist would join together to create the drawing. Also during the Renaissance drawings was transferred onto thin paper and laid over the fresh plaster. The a nail was used to trace the lines and transfer the composition onto the mortar.
Picture
images found at http://www.italian-frescos.com/index.php/tutti-gli-articoli/tecnica-pittorica/come-si-realizza-l%E2%80%99affresco-parte-seconda.html?lang=en only used for educational purpose

activity

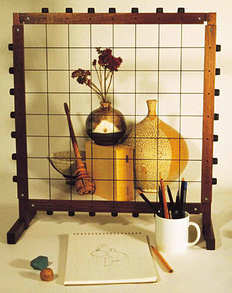
​What are the benefits of using a grid system?

EQUIPMENT

GRAPHITE PENCIL (2H AND/OR HB)

SHARPENER

ERASER

RULER
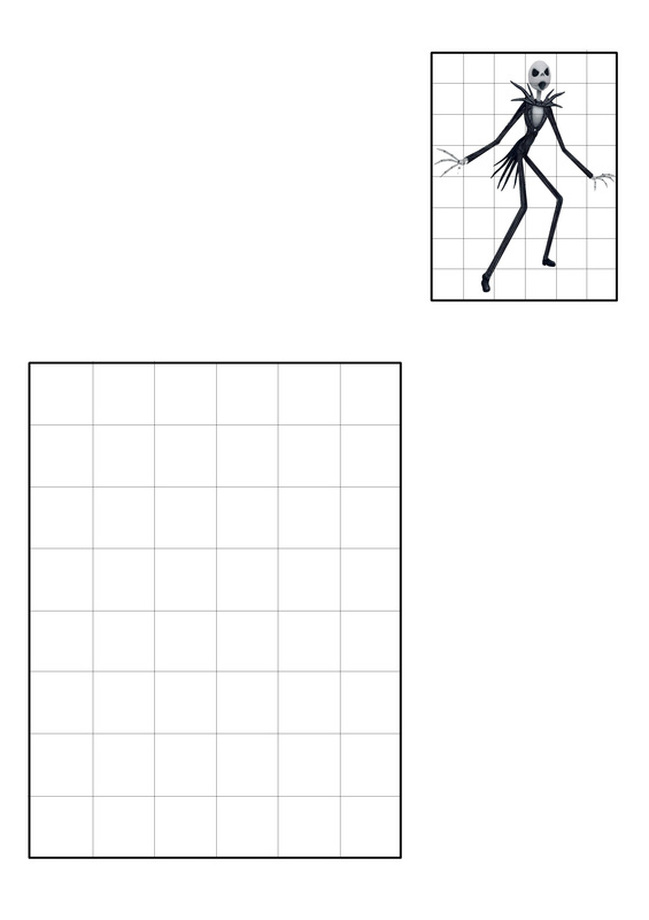
Picture

STEP BY STEP

1. Number each square going down

2. Letter each square going across

3. Optional: Get two pieces of paper to use a blockers (coloured is best).
​
4. Optional: Start from the top left hand and work your way down.  
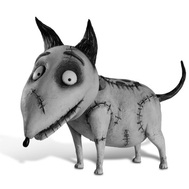
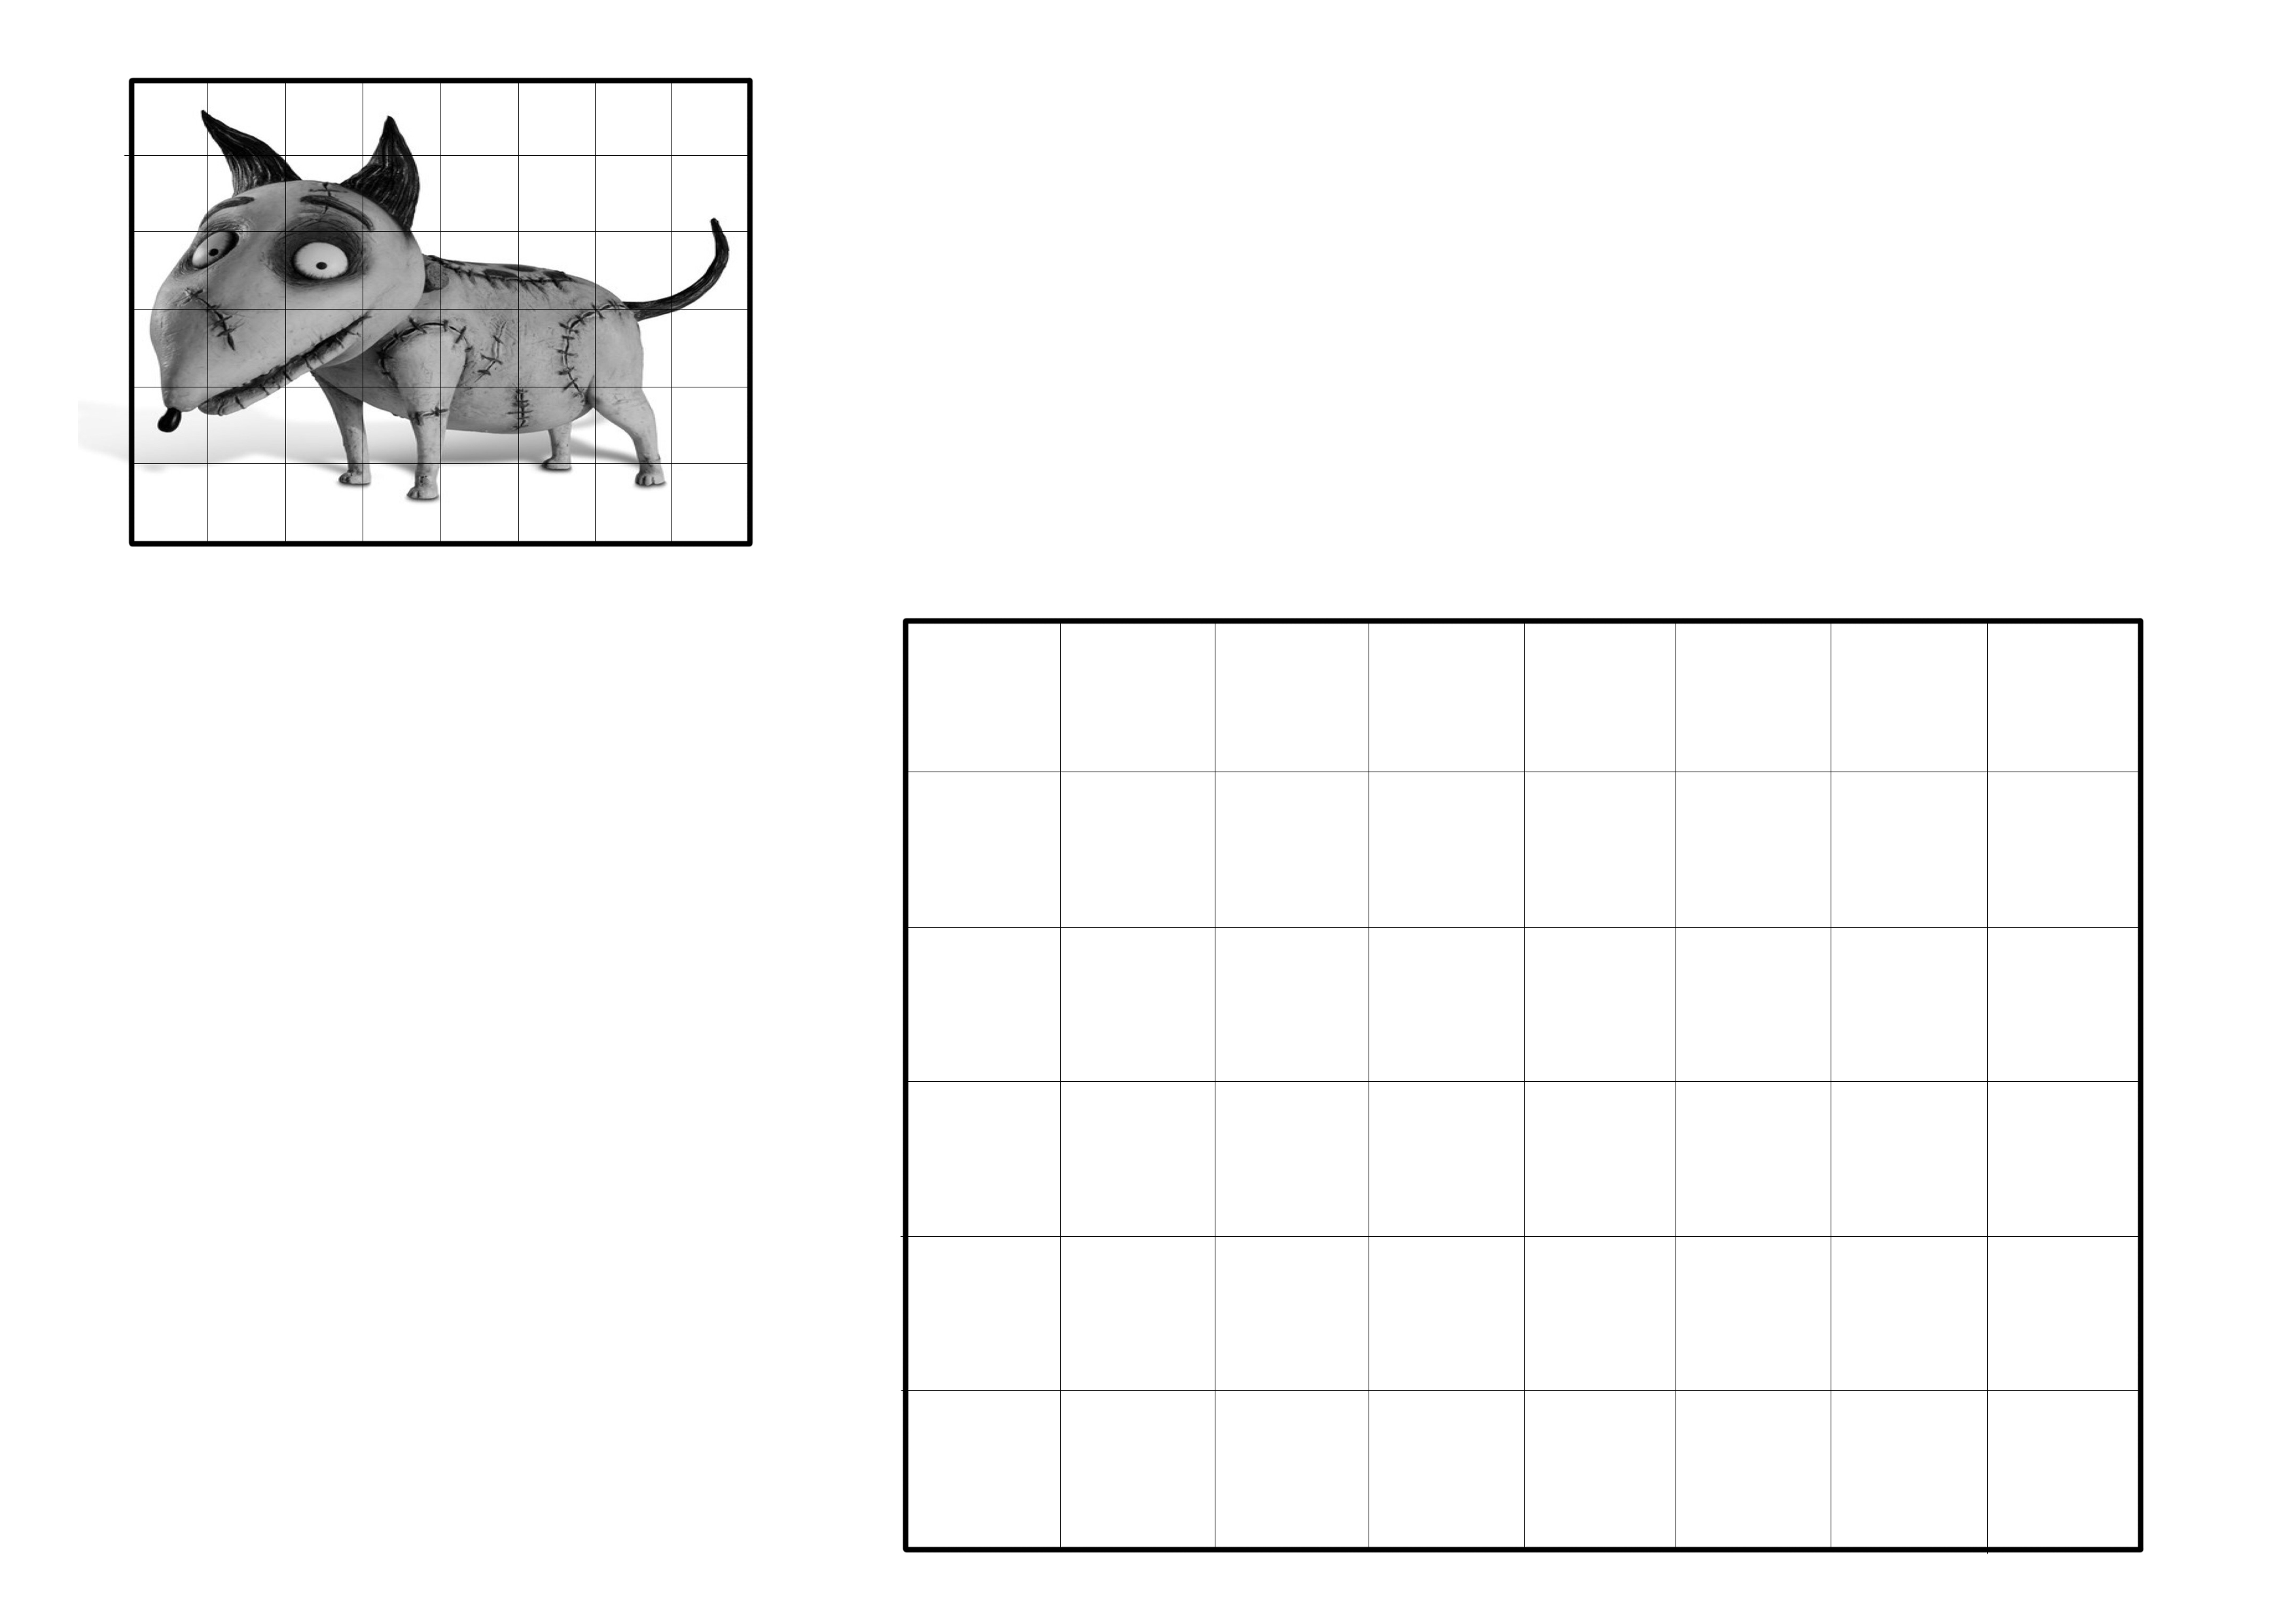
jack_skellington.jpg
File Size: 854 kb
File Type: jpg
Download File

Picture

extension activity

blowing up frankenweenie

Picture
frankenweenie.jpg
File Size: 885 kb
File Type: jpg
Download File

Picture

CLASS CRITIQUE

Write down 2 warm comments about the grid system?
Write down 2 cool comments about the grid system?
COOL AND WARM COMMENTS
Proudly powered by Weebly